I built a little driving arcade machine with a Raspberry Pi

Hello! This summer, I went to Spain as usual and decided to stay longer for different reasons. I wanted to occupy my mind and build something fun during this time. I also wanted to involve my nieces and do something for them, so they remember me when I am away.
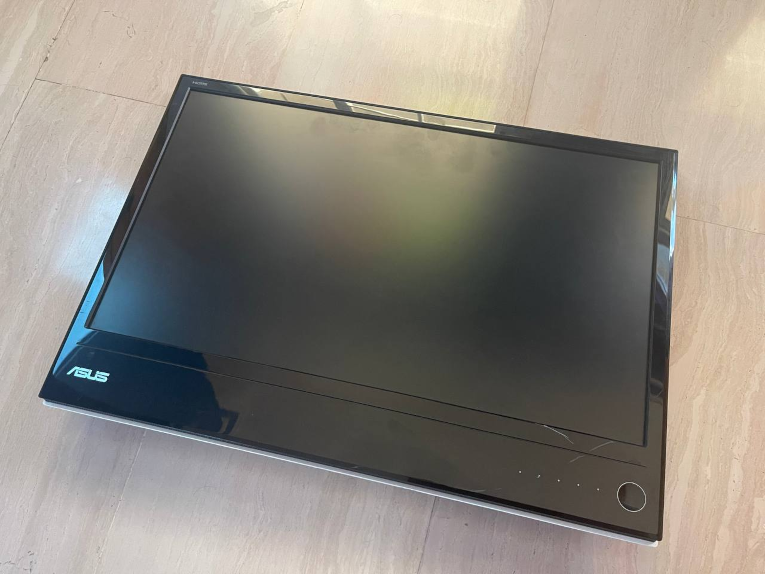
I started looking around in my parents’ house, it’s a big house with a lot of space, enough to keep things that nobody needs anymore, so I went to the garage, and I found this old screen:

I used to use this old screen, but the support was broken, so there was no way to keep it straight.
I also thought I had a Raspberry Pi so that I could build some kind of video game. Here is my old Raspberry Pi 1:

I decided to create a little game on the raspberry pi involving my niece in the process, I felt like I wanted to teach her that anybody can be an engineer and create stuff.
We dedicated some time to building our own game. I wanted to start with something simple, so the following code for the pong game was a good start: github.com/Wireframe-Magazine/Code-the-Classics/blob/master/boing-master/boing.py

We ended up making many changes to the game, and my niece even wanted to change the bars for 2D warriors:

It turns out the Raspberry Pi 1 was super slow, even with overclocking. I was not surprised. When I bought it, it was a revolution but not anymore. The Raspberry was struggling a bit to run this simple game, but we had a lot of fun just doing the game, so I didn’t care much.
When she left, I knew I had two options:
- Stop the adventure here
- Build this pong machine and find two remotes for two players
I am not going to lie; I was as excited as her to finish it. I started looking around at home, and I found just one old PS1 controller and a PS-USB adapter, but the controller was broken :(
My next finding was the item that made me change course and build a driving arcade instead of the pong machine:

It’s an old driving controller for PlayStation 1. I also found this old stool that I decided was going to be the machine body:

I knew that building this kind of machine would require more computational power so I had to buy the latest Raspberry Pi 4 to finish this project, setting up the controls was a nightmare, but once I was done, I got a few games on Retropie and set up the Kids mode on it:

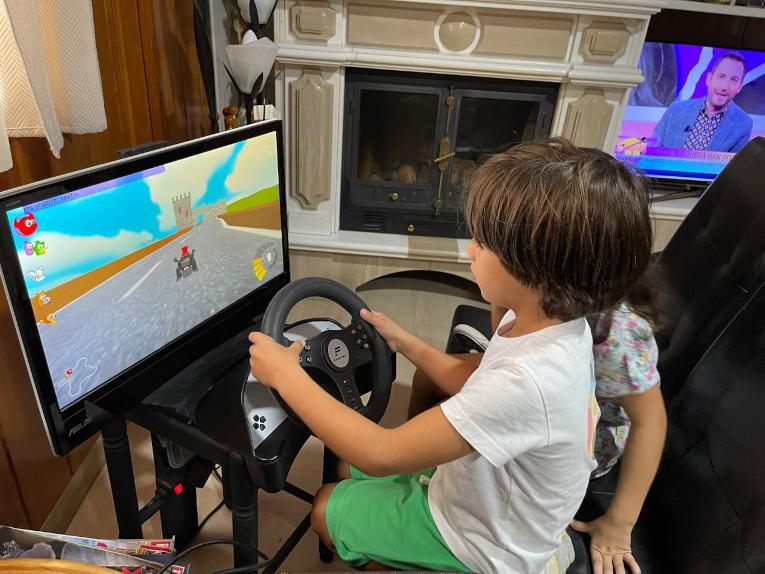
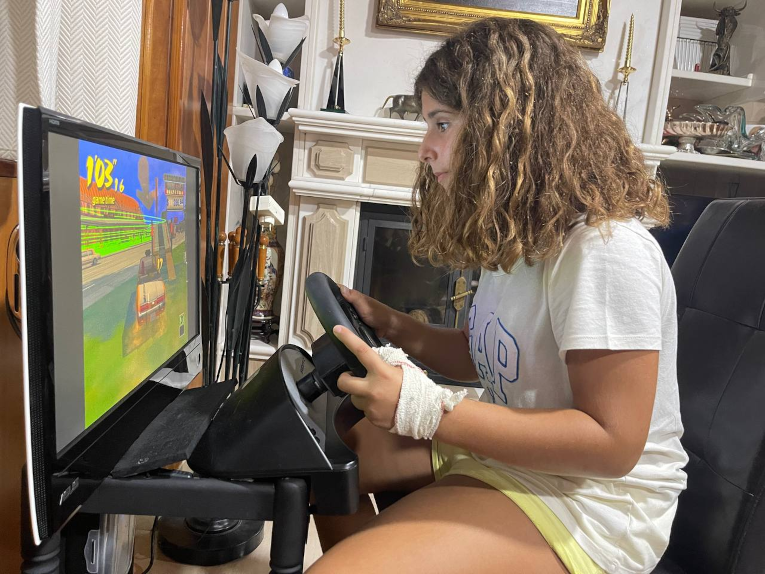
After some wooden and painting work, the machine was ready to use. Here are some pictures with the kids playing on it:


I regret not taking more photos of the machine to show how everything fit, cables, connections, etc. The final result was tidy and the only cable getting out of the device was the power cable.
The only item I had to buy was the Raspberry PI. Everything else was in my parent’s house, which is crazy. It took me about three or four days to finish everything.
Thank you for reading!
Enjoyed this article? Support my work!
If you found this content helpful, consider buying me a coffee to show your appreciation.
Buy me a coffee